Wednesday, December 12, 2012

christmas cookies!

america's test kitchen all the way! definitely my favorite cookbook.

the lineup:
molasses spice cookies with dark rum glaze
cream cheese rolled sugar cookies
bourbon pecan bars
jam sandwiches


Saturday, December 8, 2012

december 8th

$27 costco tree - perfection.

mabel the christmas pug (how about that $7 home goods star over the couch? love it!)
phil and mabel love their tree
clockwise from top left: west elm tree topper; west elm felt garland; $5 home depot poinsettia; frontgate garland

pug in the window

Wednesday, December 5, 2012

master bedroom makeover

i finally got around to working on our little 11 x 14 bedroom. given the window placement on the longest wall, our huge dresser, and the king size bed...there wasn't a lot of wiggle room.

the goal: ditch the dresser so we can center the bed under the high window and use built-ins surrounding the bed to expand our closet space.

yes, for the thousandth time, i toyed with the idea of learning carpentry so i could make just what i want in a built-in. but that would potentially be a lot of wasted money, time and effort since we eventually want to either rebuild or pop the top of our rambler and this (hopefully!) won't always be the master. also, i happen to have a full time job.

i figured there was really only one place to go for creative storage that won't break the bank: ikea. even the most basic furniture can be dressed up with trim and anthropologie knobs. i started searching on pinterest and google images for "bedroom built-ins ikea" and sure enough, my fav blog for inspiration, young house love, had a great post for almost the exact same bedroom layout!

here's the before:
before: bed off center under window and too close to exterior wall (dresser is just to the left of picture)

before: closet wall opposite bed, with cool original built-ins - note original sliding metal doors that make it so you can only see half the closet at a time

before: this is our first walk-through of the place, showing the only possible placement  for a dresser

solution: (still need to do some crown molding that "attach" the ikea units to the ceiling and pick out a headboard)

ikea besta units with 5 drawers and one door each; home goods frames around window; ikea  tv console with 3 drawers and cubbies to replace the bench at end of bed (storage for jammies!) - and note how much better it looks to have the bed centered!

anthropologie knob

etsy knob

etsy antique drawer pull

no more dresser! hmm what to do with the empty wall...

replaced metal doors with curtains for better closet access, painted trim white to emphasize built-ins, installed etsy antique ceramic knobs, painted the closets "sticks & stones" by sherwin williams (leftover from main living area, love how it goes with the green!)

adair plug-in sconces from pottery barn (when we have a headboard we can hide the cord!)

the doggies are glad mommy dog has put the room back together!  the construction zone this week stressed them out 

want:

ren-wil bleached elm headboard


Friday, November 23, 2012

the day after thanksgiving


crafts!

now that i have a sewing machine, i finally made some tie-up valances for over the roman shades in our bedroom:
diy 10 minute tie-up valance

tie-up valances

i also tried to make my own stockings...i was trying to make stockings i could imagine being sold by anthropologie. the results are laughable. construction turned out great, but i made them a bit small in the toes. phil said they looked like stockings for a geisha because the foot part was tiny and awkward. i'll try again!
using cheapo stocking as a pattern for my diy pillowcase stockings

cutting out lining (that's right, lining is leftover thomas paul "botany" fabric from the valances!)

decorating the fronts

my new janome heavy duty sewing machine!

stockings - first attempt


Friday, November 16, 2012

his-and-hers den

converted closet into my own desk nook, thank you pinterest for that idea! now phil and I have separate workspaces.

Tuesday, October 23, 2012

favorite plants

gotta give these plants credit for being easy and beautiful!

upright japanese plum yew (cephalotaxus harringtonia 'fastigiata')
this lovely creature was planted by the previous owners, who also valued easy-care specimens

upright japanese plum yew

japanese toad lily (tricyrtis 'taipei silk')
i picked this up at merrifield because it was so luscious i didn't care what it took to grow the thing. then i forgot about it. and it flourished. soooo impressed! welcome to my garden, toad lily. i'm getting more of you next year!

japanese toad lily
this is what it looked like in bloom (not my photo)

salvia 'hot lips'
another random find that turned out to thrive on neglect. has been blooming since i bought it 6 weeks ago. i think it's evergreen, too!

hot lips


coral bells, variegate boxwood, creeping jenny
no virginia cottage is complete without these! i'm proud of this pot i designed, complete with creeping jenny, kale, coral bells and a tiny variegate boxwood. it's been looking pretty for two months now with minimal water in full sun.

lauren's favorite pot

sage
can't get enough sage. almost as easy as rocks in a garden.

sage


guara 'snow flower'
a mabel favorite. literally zero care. this one's been going strong since july.

guara snow flower


variegated mystery shrub 
is it azara microphylla 'variegata'? since i threw out the tag, your guess is as good as mine. possibly dwarf form, because i was careful to get something that would fill up about 3-4' and the azara sounds huge. i know it's evergreen. anyway, it's doubled in size in the month since i got it. and of course, without cuddling.

who am i?

crepe myrtle 


happy fall gardening!

Sunday, October 21, 2012

shutters!

our house was designed to have shutters and the windows just didn't look right without them. since we can't stand vinyl stick-on shutters and didn't want to shell a couple grand to have beautiful custom wood ones, we set out on quite the little diy adventure. this project was tricky and time-consuming, but we are proud to have done it by ourselves and on the cheap.
first, I ordered pre-made cedar shutters. they were rough sawn and arrived all ready to stain. they are half the size of our windows EXCLUDING the casing...meaning, if mounted to the sides on the brick they won't actually cover our windows. we got over that fact because they're $40/shutter instead of hundreds, and let's face it, they are house jewelry. but we like the look of quality if not paying for quality, so there will be hinges.
design craft millworks shutters - www.homedepot.com
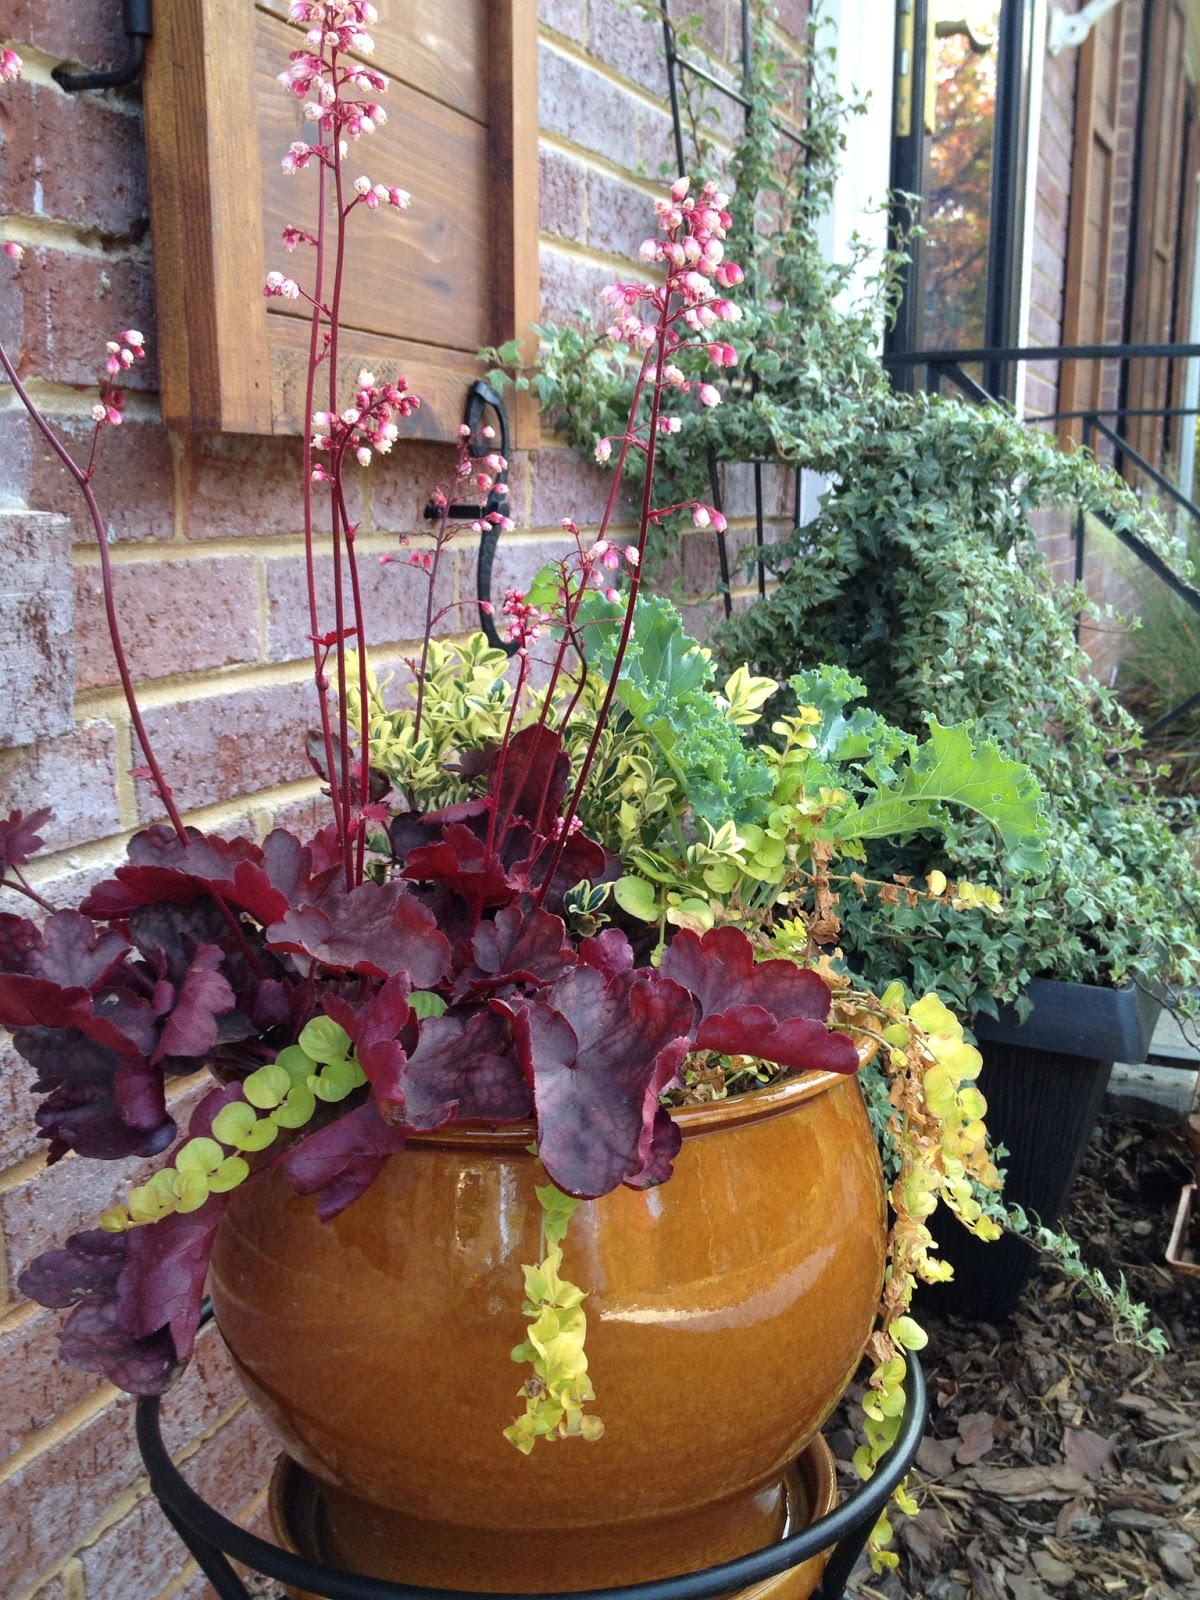
the stain was difficult to choose. i wanted to see the grain, and i wanted it to be relatively easy to refinish them over the years, so i opted for a translucent stain by sikkens. the color we chose is dark oak. staining was pretty simple even though this was my first time. the fact that it was new rough sawn cedar meant i only had to dust the shutters to prep them, and the stain soaked right in. got some good quality brushes and tried to paint it on as evenly as possible and moved methodically through all 8 in one go. took about 4 hours, but the results were stunning.

sikkens crd translucent dark oak
next: hardware. i decided on connecticut style strap hinges with lag pintels because they're easy to mount on brick. there was all this offset/throw info online that i tried to follow, but it was getting complex so i decided on flush-mounted hinges to bypass all that jazz. a lag pintel i can understand. :)
after ordering the hardware from hardwaresource.com, i realized i needed to find lag anchors, a hammer drill and the appropriate size bits for masonry. after a bunch more research i got us a $79 makita. since installation by a pro would likely cost over $300 in this area, i considered the drill a steal! and who knows what else i may need it for someday.

corded 5/8" makita hammer drill

so. installation day. this involved a lot of holding up the shutters one by one, marking where to drill into the mortar, inserting the anchors in, screwing in the pintels with a wrench, holding up the shutters, measuring where to screw the strap hinges into the wood, screwing them in, attaching the rattle hooks for the shutter dogs, measuring where to screw in the bolt that holds the dogs, etc etc.

anchor shield goes in the pre-drilled hole

pintel screwed into brick with shutter hinge resting on top

phil has a hammer drill and he knows how to use it.
georgie got about as sick of this as we did near the end

 and what was the result of all that work?

wood shutters diy


cedar shutters

what a huge difference hinges make!

now THIS is the cottage-y aesthetic we were going for!

other than cleaning the gutters and some minor caulking and mortar repair...i'm done with the front yard until spring.